
Step 2: Jack in the Box Crochet Along
- noonabearcrafts
- Jul 15, 2022
- 4 min read

If you are here, you made it to step 2! Great job!
This step is going to be a little harder and a little more involved. This week we are going to crochet the cone that will serve as the hidden base for our Jack. When I tell you the color I used, it was just my preference. You can use any color that you want. Just make sure that it is the same type of yarn as what you used last week.

I used teal yarn (actually peacock green in the milk cotton 5ply), but again use whatever yarn and color you like.
As you can see there are a couple of grey stripes at the top, ignore that for this week. We are going to focus on crocheting all the teal and pick up with those grey rounds next week. Next week, will be about stuffing and assembling Jack.
The red head you see here is my second Jack who I am saying is in the Hope color scheme. I thought it could be cute to have a Hope World Jack as well.
Alright, here we go with Step 2. Just like last week, feel free to ask me questions at any time! I will try my best to answer. And remember, I am just 1 step ahead of you. Doing it this way I wanted to show you my process for creating a pattern. You get to see how I lay out a project. Be looking for a later post. I will show you the insane way my notebook instructions look as I write everything down as I go.
Materials
Teal yarn (I used 5ply milk cotton in peacock green)
3.0mm hook
craft glue (I used Aleene's tacky glue)
a wood or cardboard circle (Mine was 3 inches but I will show you how to cut your own to the size of your project in later steps)
stitch markers
Hidden Cone Instructions
(Refer to step 1 for all abbreviations and notes...they still apply here)
US terminology
With teal yarn:
MR
Rnd 1: 6sc in MR
Rnd 2: inc around [12]
Rnd 3: (sc, inc) around
Rnd 4: (2sc, inc) around
Rnd 5: (3sc, inc) around
Rnd 6: (4sc, inc) around
Rnd 7: (5sc, inc) around
Rnd 8: (6sc, inc) around
Rnd 9: (7sc, inc) around
Rnd 10: (8sc, inc) around
Rnd 11: BLO sc around
Rnd 12: bpsc crochet around [This is to help use change direction in our stitching. We are changing from the flat base to now crochet up and start the cone.]
Here is a video for the bpsc stitch:
Rnds 13-17: sc around

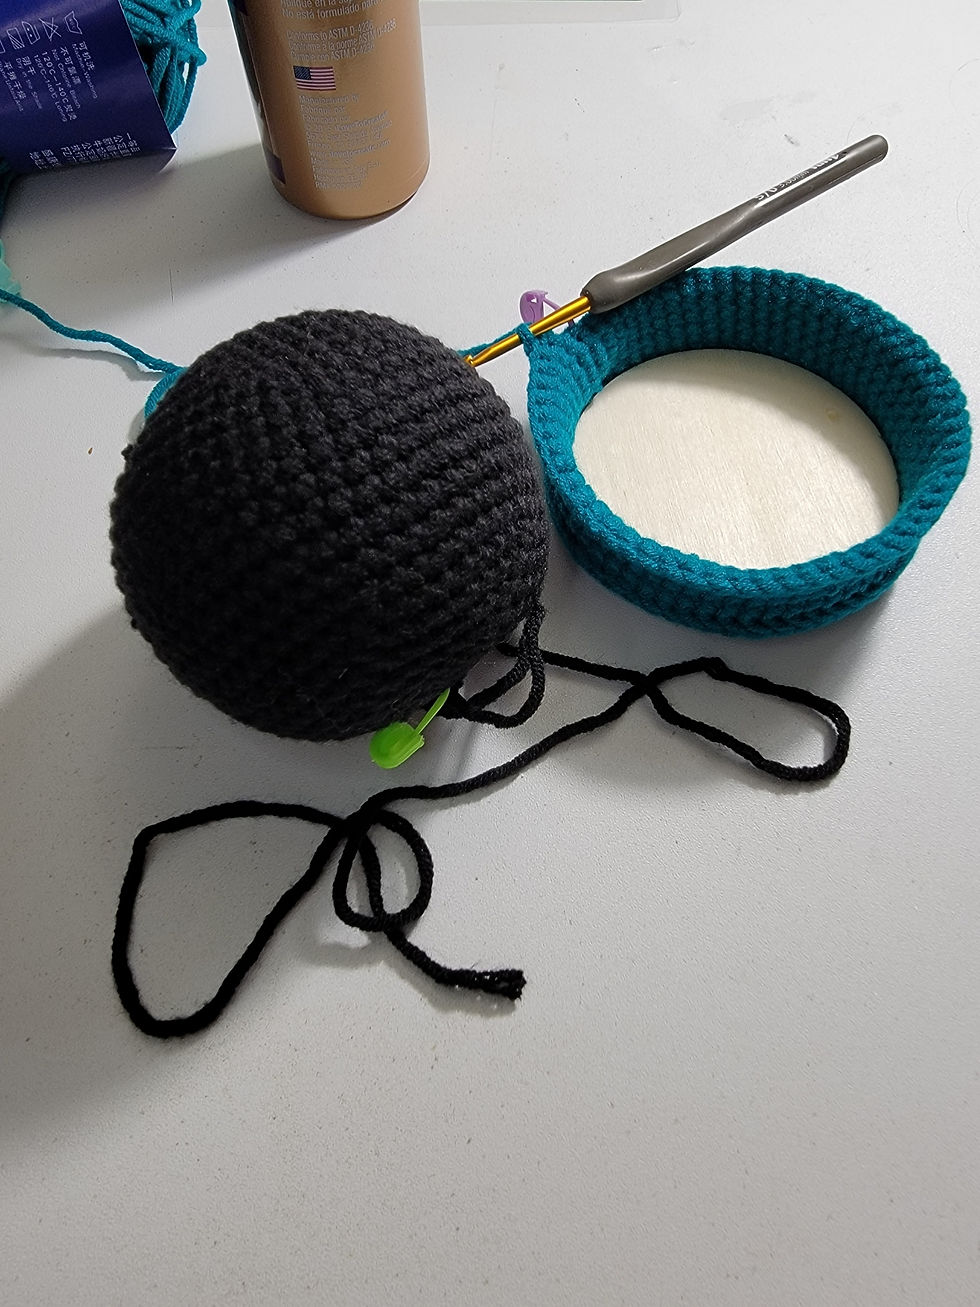
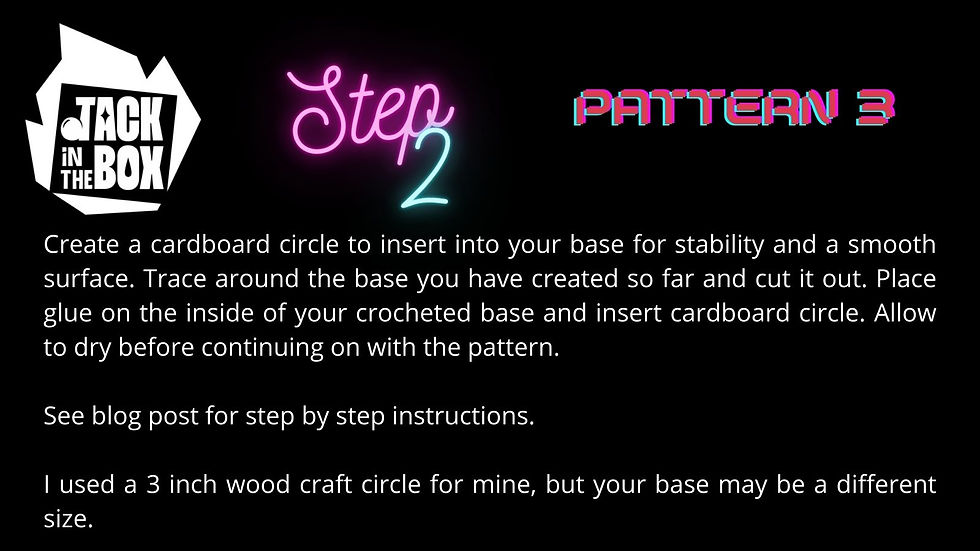
This is where we will take a moment to make our cardboard base. Again, I used a 3inch wood craft circle. But your project may be a different size. So just find a piece of cardboard. I'm sure we all have an Amazon or Weverse box sitting around.
Next, take your base and simply draw around the bottom. Pretend that my cone is not already finished in these pictures. You should only have a few rounds up.


Then, cut out your circle inside that line. It should be a tight fit but not so tight as to stretch your stitches. Put your circle inside to check the size. Feel free to cut it down more if you need to. But if you notice, your stitching will kind of pucker at the bottom. That is why we are going to glue it in.


Put some lines of glue on the bottom inside of your stitching. I recommend putting the glue on the yarn and not on the cardboard circle. That way you are less likely to get the glue on the sides of your cone instead of just the bottom. Don't overdo it, but put enough that it works across all of the bottom. Then, insert your cardboard circle. You need to let this
sit and dry. It is best to let it sit on the bottom so that it flattens as it dries. Around Wednesday, I will try to do an Instagram live where I show you how to glue this into place with the Hope color version. I failed by not taking a video while doing it for this stage of the project with the Jack version. I will do better next time.
Once your cardboard is in your base and the glue dry, you can move on to the next stage of stitching. This is what it should look like at this point.
Rnd 18: (8sc, dec) around
Rnds 19-21: sc around
Rnd 22: (7sc, dec) around
Rnds 23-25: sc around
Rnd 26: (6sc, dec) around
Rnds 27-34: sc around
Rnd 35: (5sc, dec) around
Rnds 36-41: sc around
Rnd 42: (4sc, dec) around
Rnds 43-47: sc around
This is where we will end this week. Do NOT cut your end off yet. Do NOT finish off. Just let this sit with a tail until Step 3!
Good work! Keep going. Again, next week we will put this cone and head together! We will also add the grey to the top.
Materials for Step 3
Fiberfill
Grey yarn
wooden dowel
weighted beads (optional)
yarn needle
scissors
3.0mm hook


Comments