
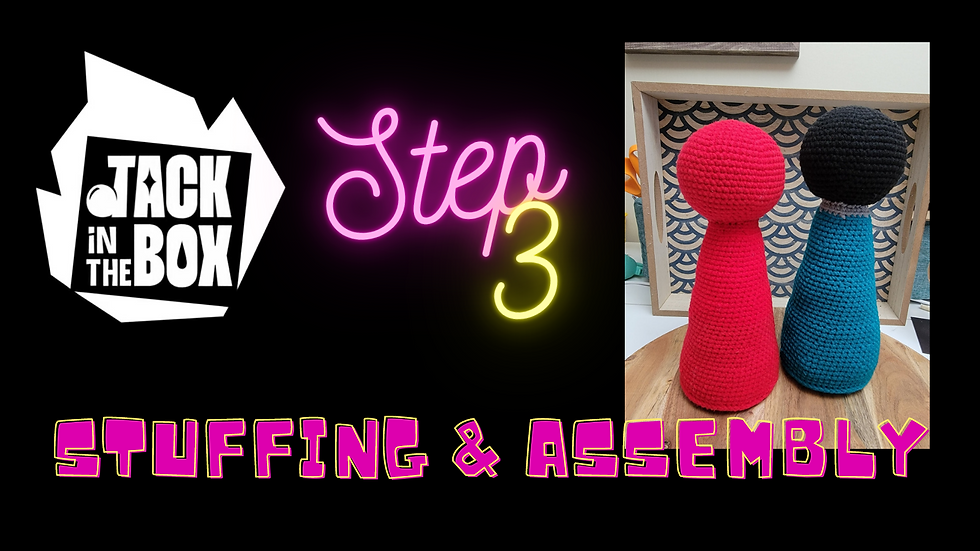
Step 3: Jack in the Box Crochet Along
- noonabearcrafts
- Jul 22, 2022
- 2 min read


Welcome to Step 3 of the Jack in the Box Crochet Along!
I hope things are going well! This week is about assembling our doll! Let's get this head attached to the body!
As always feel free to ask questions!
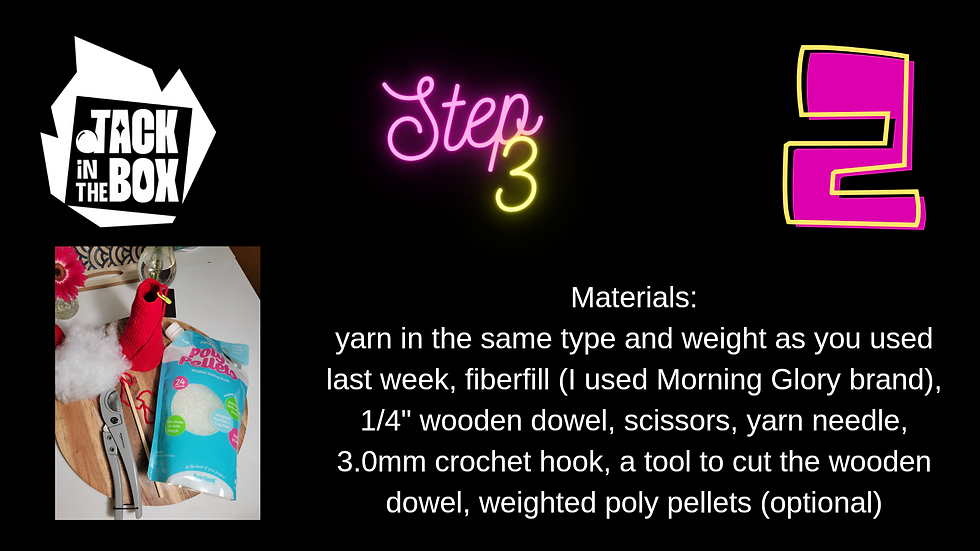
Materials:
Fiberfill (I used Morning Glory brand)
1/4" wooden dowel
Tool to cut the wooden dowel
pen
poly pellets (optional)
scissors
yarn needle
stuffing tool (chop stick)
Instructions:
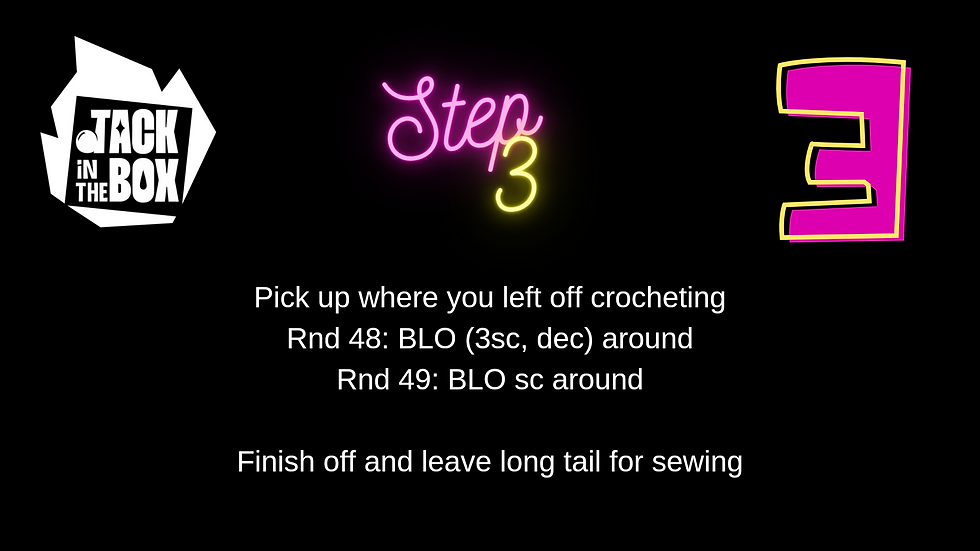
Pick up crocheting where you left off last week
Rnd 48: BLO (3sc, dec) around
Rnd 49: BLO sc around
Finish off and leave long tail for sewing

Pour poly pellets into the bottom of your base. You need enough to weigh it down, but don't go crazy. Just have enough to cover the bottom. That's really all you need. This step is also optional. You don't need it, but if you want to make sure your doll isn't prone to tipping, I recommend it.

Put your wooden down in the center of your cone. Let it rest on the bottom.
The wooden dowel is to give the neck of your doll stability. If you don't use a dowel, the head may be floppy. This doll will help your Jack stand upright and maintain its shape.

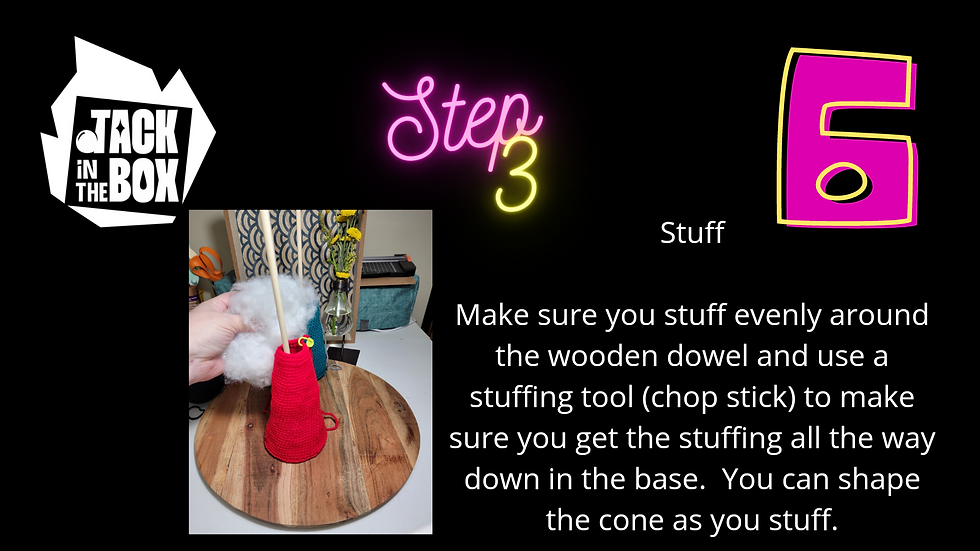
Stuff the cone
Make sure you stuff evenly around the wooden dowel. Use the stuffing tool (chop stick) to get the fiberfill all the way down to the bottom. You want to pack it in just like you did with the head. Shape your cone as you stuff.

Cone on a stick
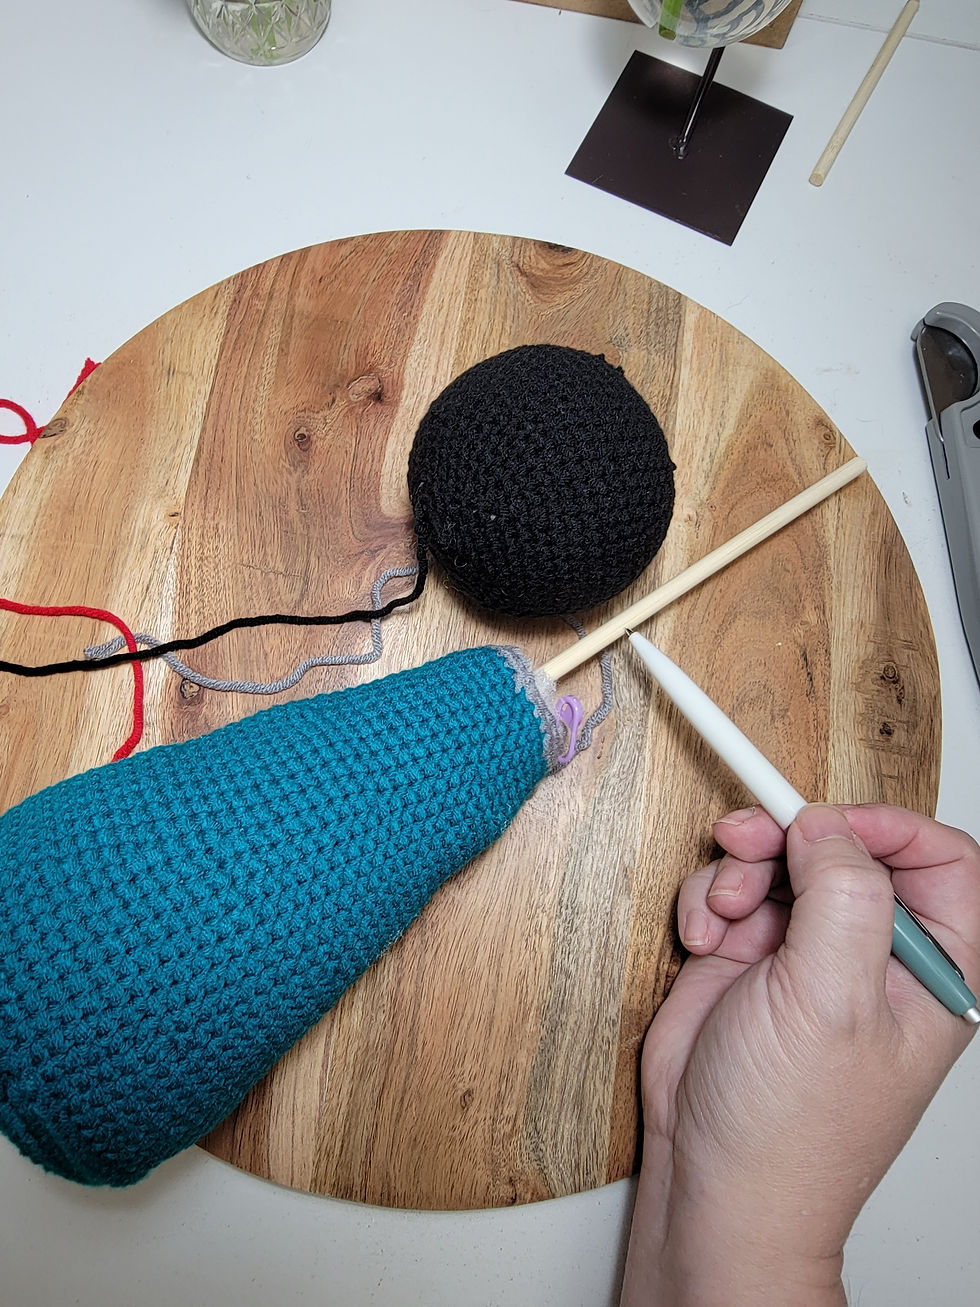
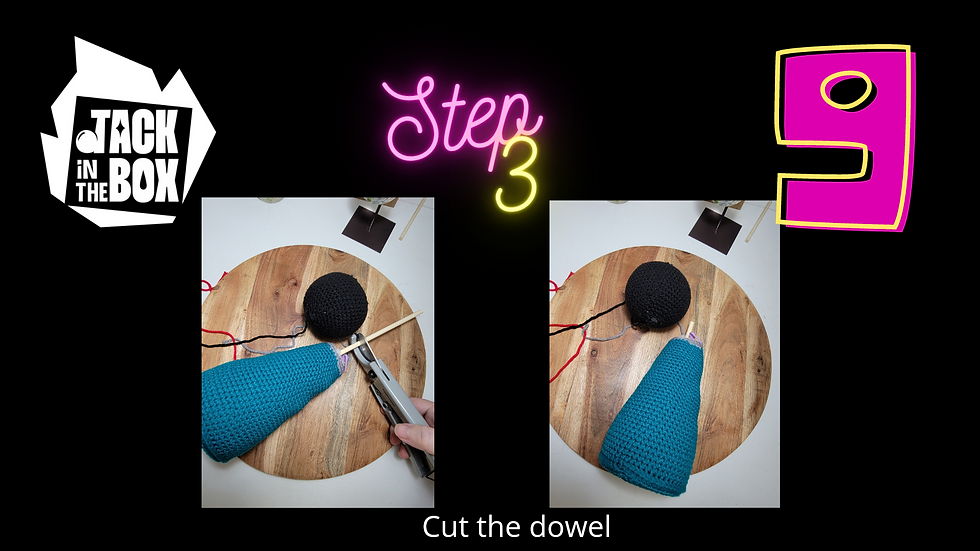
Lay your head next to the body with the wooden dowel. Then mark about halfway up the head, as you see in the picture.

Cut the wooden dowel

When we made the head, I told you to leave a long tail for sewing. That was because I wasn't sure yet how I was going to attach it. We are going to use the tail left from the cone to sew. So, finish off the head and weave in end and cut yarn. Leave the hole in the bottom!
Put the head on the dowel. The dowel should go up through the hole that was left on the bottom of the head. It is okay if the head gets smushed a bit. You can always fluff it back out.


Sew head to cone
Sew the last round of the cone to the fourth round of the head. Make sure you sew evenly around. Pull the stitches tight.


Comments